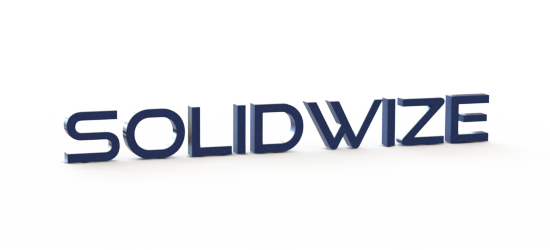
SolidWorks should have added an option to output an image with a transparent background, in Photoview 360. At least Photoview creates an alpha channel that can be saved out along with the colored image. This allows you, if you have Photoshop or a similarly equipped image editing program, to manually remove out the background. This tutorial will go into using the alpha channel to mask out the background of a Photoview render and create a transparent png.
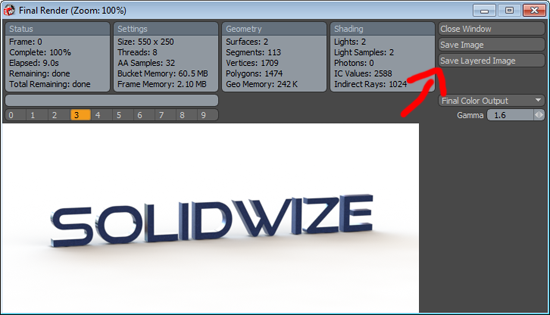
The first step is to create your render and save out the layered image. This will create two files an alpha channel and a full color image. The alpha channel will look something like this:
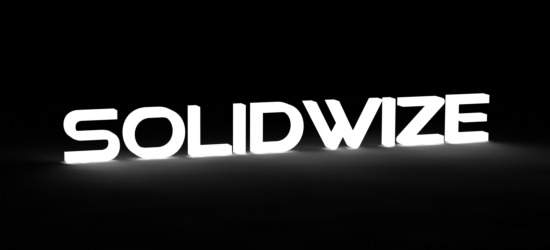
You’ll now want to open up the two images in Photoshop and go into the channels tab for the alpha channel image.

Right click on the “Gray” channel and choose to duplicate the channel.
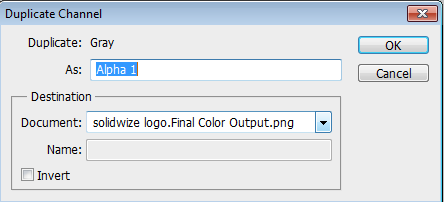
From the document pull down choose the final color output version and click ok.
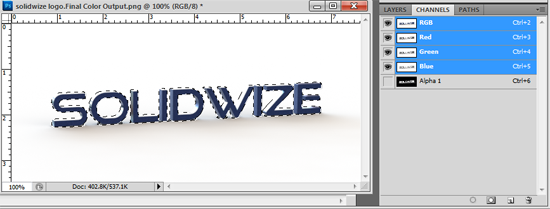
Go into the final color output’s channels tab and ctrl click the newly duplicated layer. Recheck all of the RGB layers and uncheck the “Gray” layer, so that the full color image is showing. Then go back to the layers tab, right click on the background, and create a duplicate layer as you won’t be able to add a mask to the locked background layer.

Create a mask over the background copy by clicking on the icon indicated above. Finally, uncheck the “background” visibility so that you’re left with just the transparent image.
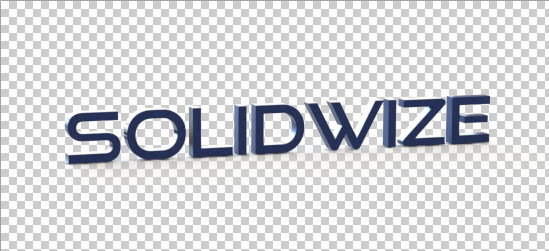
Save the image as a png and you’re good to go.